Loose or damaged tiles are not only an eyesore but also a safety hazard. Thankfully, you don’t always need a professional to fix them. This guide will walk you through the process of repairing both loose and damaged tiles, saving you time and money.
Identifying the Problem:
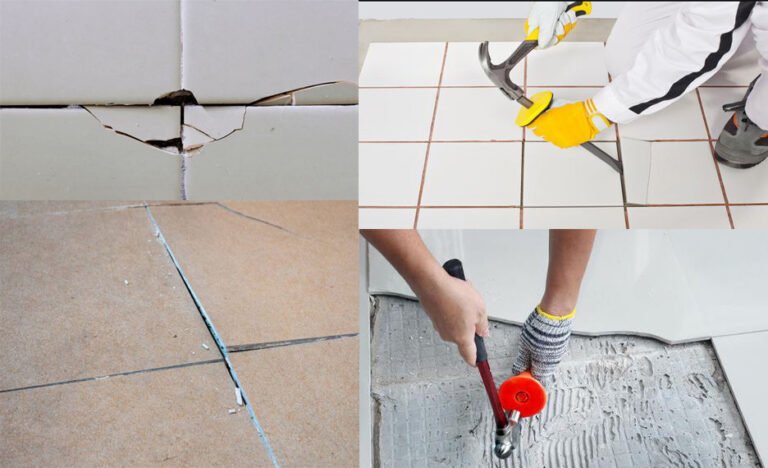
Begin by identifying the problem. Is the tile cracked or chipped itself, or is it just loose from the adhesive? Knowing the problem sets the scope for the solution right. A tile that emits a hollow sound when tapped is generally loose, while visible cracks or chips indicate damage.
Tools and Materials Required:
- Grout saw or utility knife
- Hammer and chisel (to take out broken tiles)
- Safety glasses and dust mask
- Adhesive for tiles (thin-set mortar)
- Grout
- Bucket and sponge
- (Optional) spacers for the tiles
- Replacing replacement tiles (if necessary)
- Grout sealer (optional)
How to Repair Loose Tiles:
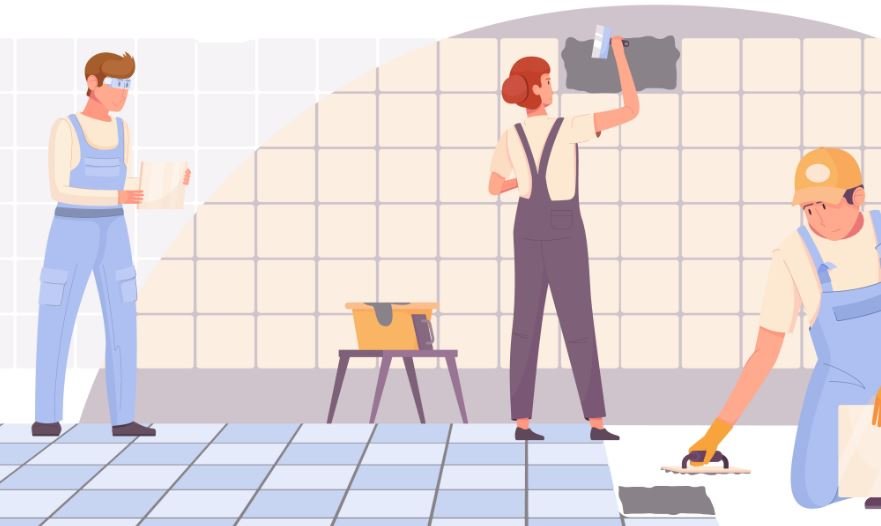
- Remove the Grout: Carefully cut the grout around the loose tile with a grout saw or utility knife. Be careful not to chip the adjacent tile.
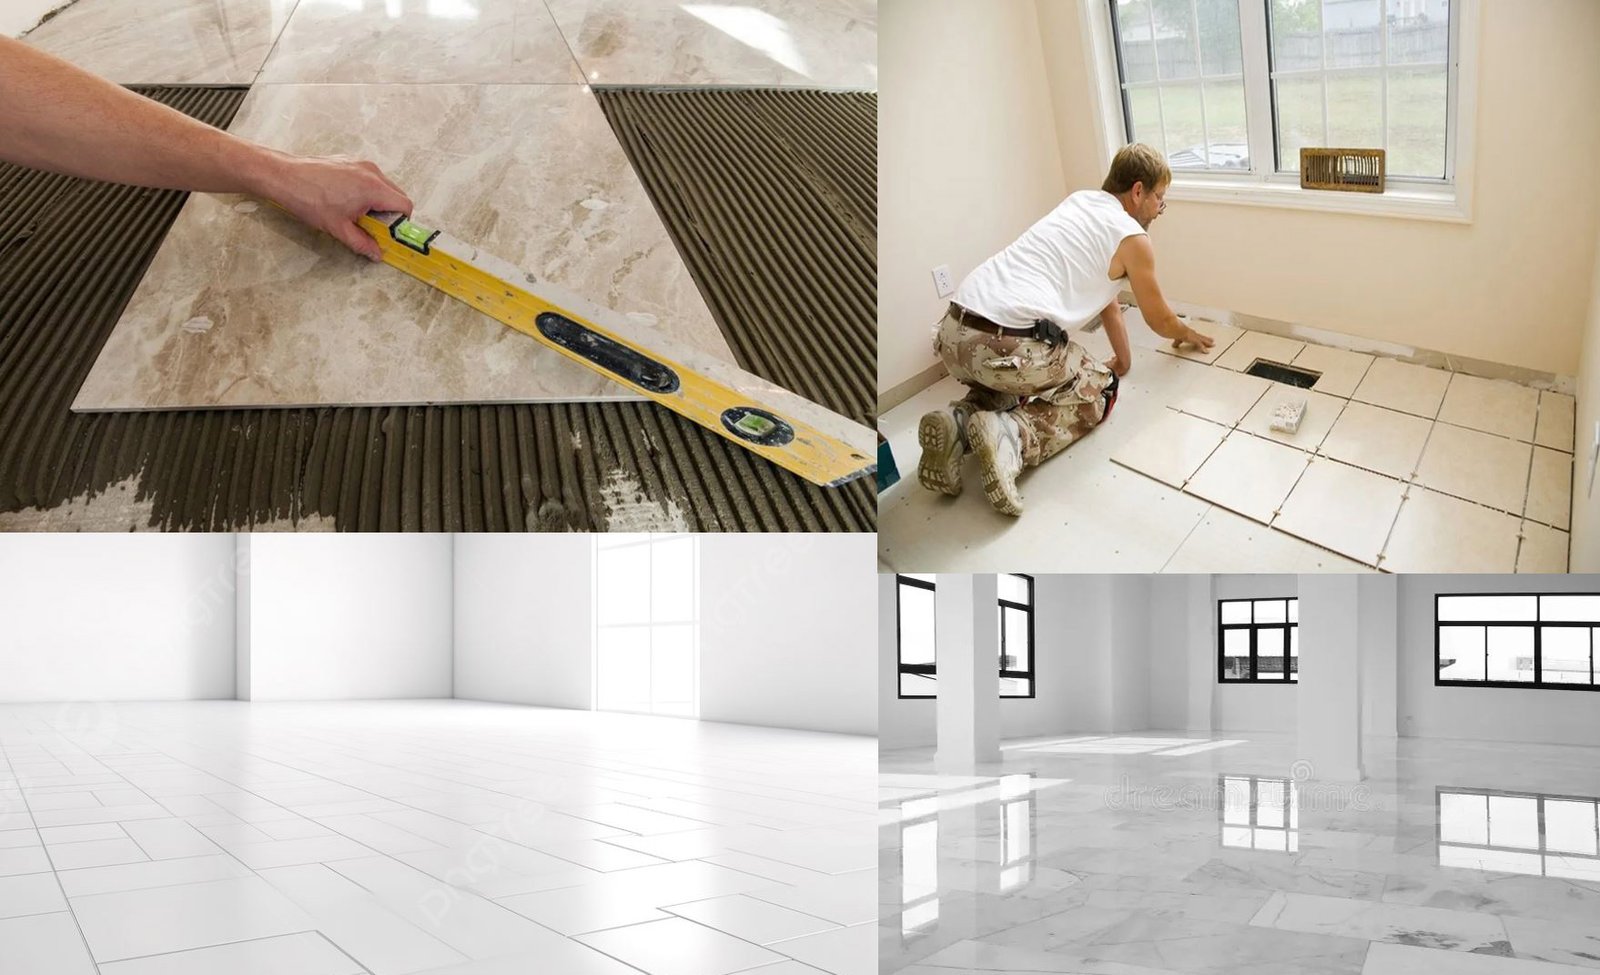
- Re-Adhere the Tile: Put a little tile adhesive on the back of the loose tile, then press it into place. Use spacers to keep the tiles uniformly spaced.
- Clean Excess Adhesive: Immediately wipe away any excess adhesive that squeezes out from between the tiles with a damp sponge.
- Re-Grout: After the adhesive dries (check the manufacturer’s instructions), apply new grout to the joints, filling them.
- Clean and Seal (Optional): Remove excess grout with a damp sponge and allow it to dry. Applying a grout sealer can help protect it from stains and moisture.
Repairing Damaged Tiles:
- Remove the Damaged Tile: Carefully break the damaged tile into smaller pieces using a hammer and chisel. Wear safety glasses and a dust mask to protect yourself. Start from the center and work outward.
- Clean the Area: Remove all debris, old adhesive, and grout from the area.
- Apply Adhesive: Spread a thin layer of tile adhesive onto the substrate where the tile was removed.
- Place the New Tile: Press the new tile firmly into place, ensuring it’s level with the surrounding tiles. Use spacers if needed.
- Dry-Set the Loose Tile: Where spacers were specified, dry-set the cleaned loose tile with spacers to ensure that the bond line is consistent, as well as ensuring that the proper coverage for bond strength per ANSI A108.5 is achieved.
- Clean Excess Adhesive: Wipe away any excess adhesive.
- Grout and Seal: After the adhesive dries, grout the joints and apply a sealer (optional) as described above.
How to Keep Tiles in Good Shape:
For any future removal, score along with the grout or leveling material to reduce the chance of chipping the tile. Clean all the old adhesive or material off the back of the tile and the floor. This will ensure a fresh surface, no dirt to interfere with bonding, and the tile will sit as high as the others. If necessary, use spacers to center the tile in the opening. Hold the tile in place centered in the hole. Have several screws in bubbles around the tile placing so much pressure on each screw that it in turn puts pressure on the tile. When the mortar is dry, remove the screws and either cover the holes with another tile or fill with matching grout. Use the correct trowel that leaves the right amount of mortar on the tile without oozing out the top. You’ll have mortar squeezing out under the tile, filling the hole so the tile is not supported, and the tile will be higher than the other tiles. After regrouting, apply grout sealer to ensure it does not stain or change color again.
Frequently Asked Questions (FAQ):
Q: How do I prevent tiles from becoming loose or damaged?
A: Proper installation is key. Ensure a solid, level substrate, use high-quality adhesive and grout, and avoid excessive moisture exposure. Regular cleaning and maintenance can also help prevent damage.
Q: Can I repair cracked tiles without replacing them?
A: Minor cracks can sometimes be repaired with a tile repair kit. However, significant damage usually requires replacement.
Q: What type of adhesive should I use?
A: Thin-set mortar is the most common adhesive for tile repair. Choose a modified thin-set for areas exposed to moisture.
Q: How long does it take for tile adhesive to dry?
A: Drying times vary, but it typically takes 24 hours for the adhesive to cure fully. Consult the manufacturer’s instructions for specific recommendations.
Q: When should I call a professional?
A: If you’re uncomfortable working with tiles, or if the damage is extensive, it’s best to hire a professional tile installer.
Read More: Common Mistakes in Tile Installation
By following these steps, you can effectively repair loose or damaged tiles and restore the beauty and safety of your tiled surfaces. Always prioritize safety and consult a professional if unsure about any part of the process.

